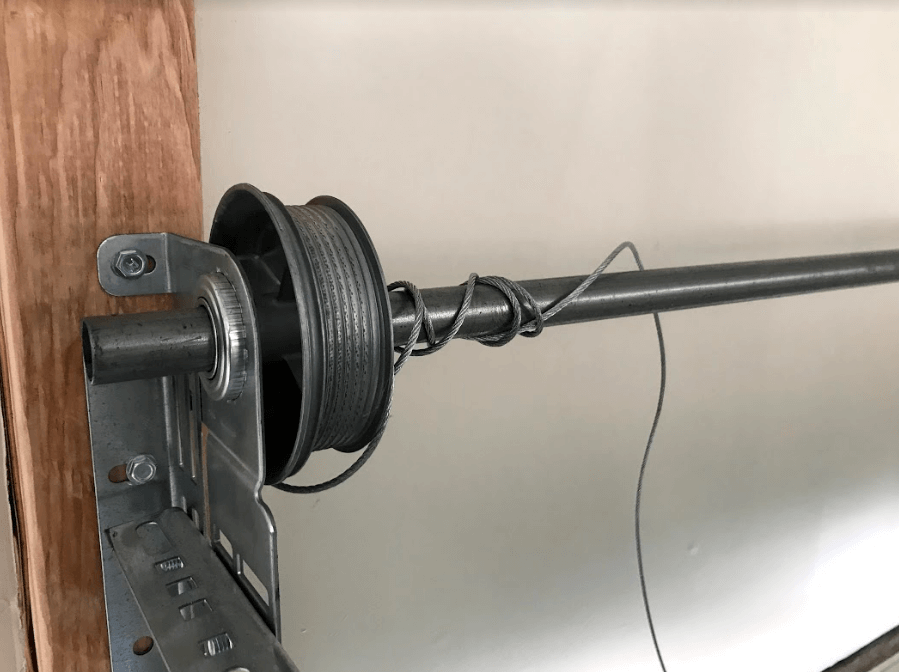
Repairing a garage door cable is a task that demands careful preparation, the right equipment, and a strong focus on safety. Whether you’re a seasoned DIYer or a homeowner tackling this for the first time, following a structured garage door cable repair checklist can help prevent accidents and ensure the job is done correctly. This article covers the essential tools, safety procedures, and step-by-step guidance for cable repairs, along with expert tips and resources for further reading.
Before diving into the repair process, it’s important to understand the risks involved and the value of using professional-grade materials. For a deeper technical overview, consult the garage door cable professional guide for advanced tips and specifications.
Why a Cable Maintenance List Matters
Garage door cables are under significant tension and play a critical role in the safe operation of your door. A snapped or frayed cable can lead to sudden door drops, property damage, or even personal injury. That’s why using a garage door cable repair checklist is not just about convenience—it’s about safety and reliability.
Routine checks and timely repairs can extend the life of your door system and help you avoid costly emergencies. For those interested in proactive care, the garage door cable prevention tips article offers strategies to minimize breakdowns.
Essential Tools for Garage Door Cable Repair
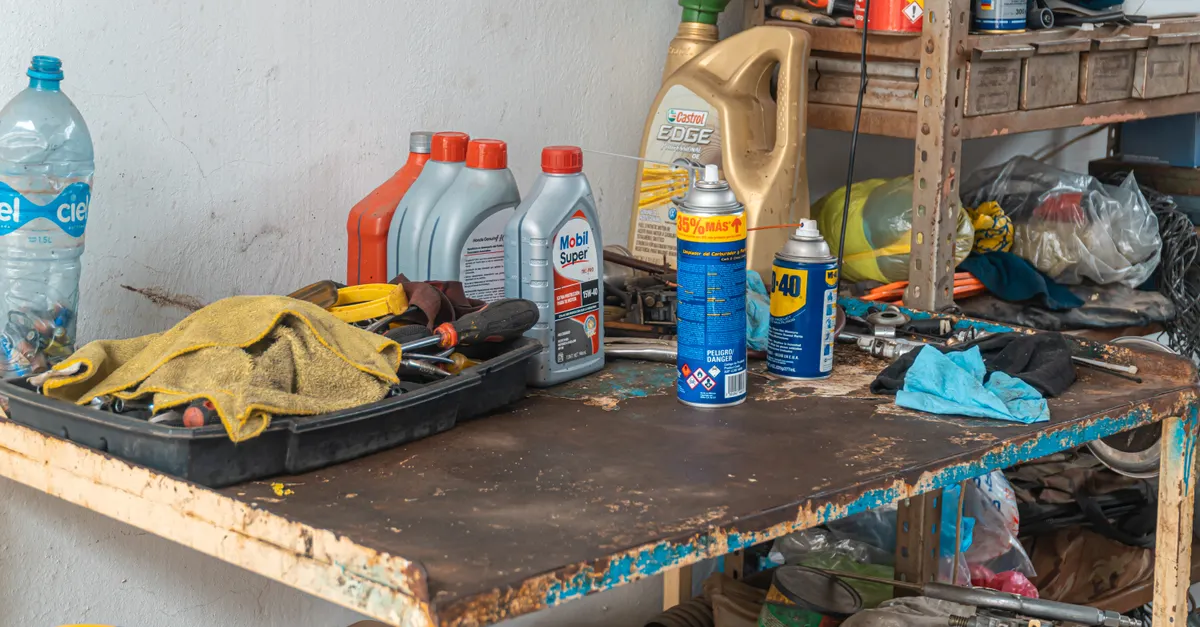
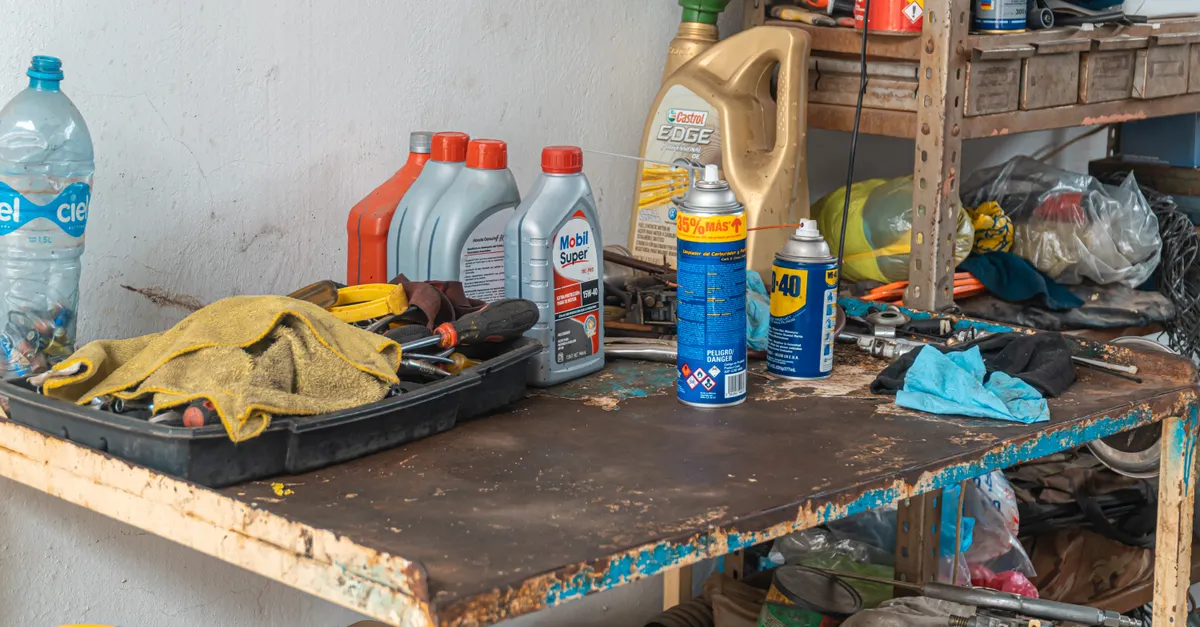
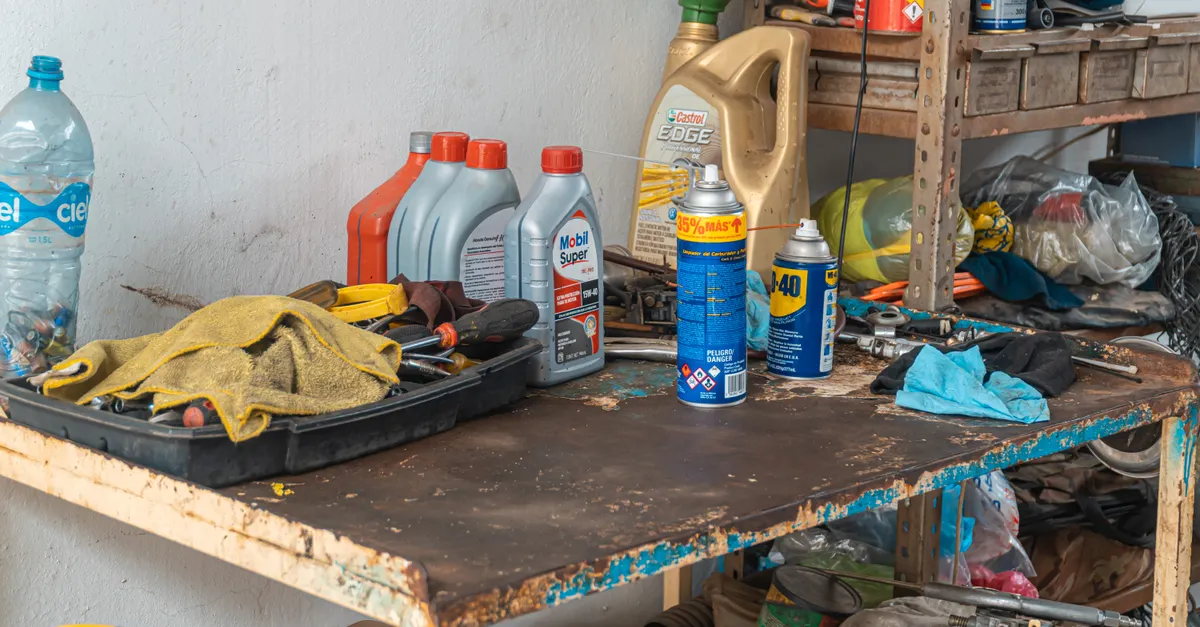
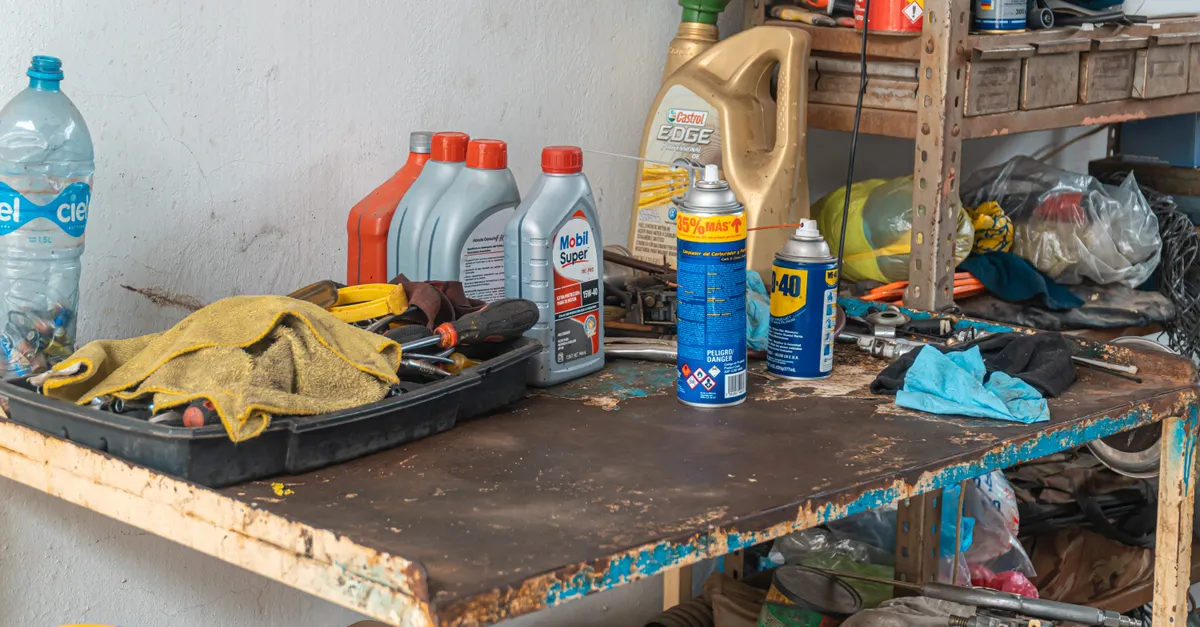
Having the proper tools on hand is the first step in any successful repair. Here’s what you’ll need for most residential garage door cable replacements:
- Winding bars – For safely adjusting torsion springs.
- Locking pliers or C-clamps – To secure the door in place during repair.
- Adjustable wrench – For loosening and tightening nuts and bolts.
- Socket set – Useful for removing cable drums and brackets.
- Flathead and Phillips screwdrivers – For removing panels and hardware.
- Replacement cables – Make sure to match the cable type and length to your door system.
- Safety glasses and gloves – To protect your hands and eyes from debris and tensioned parts.
- Stepladder – For safe access to overhead components.
Before starting, double-check that all tools are in good condition and rated for the job. Using the wrong tool can increase the risk of injury or damage to your garage door system.
Step-by-Step Safety Procedures
Garage door cable repairs can be hazardous due to the tension in the springs and the weight of the door. Follow these safety steps to minimize risk:
- Disconnect Power: Unplug the garage door opener to prevent accidental activation.
- Secure the Door: Use locking pliers or C-clamps just above the bottom roller on both sides to keep the door from moving.
- Release Spring Tension: If working with torsion springs, carefully unwind the springs using winding bars. Never use screwdrivers or makeshift tools for this step.
- Wear Protective Gear: Always use safety glasses and heavy-duty gloves to shield yourself from flying debris or sudden cable releases.
- Work with a Partner: If possible, have someone assist you for added safety and to help manage the door’s weight.
- Inspect All Components: Before installing new cables, check pulleys, drums, and brackets for signs of wear or damage.
For more detailed safety information, see this comprehensive guide to garage door cables which covers the risks and best practices in depth.
Detailed Garage Door Cable Repair Checklist
Use this checklist to guide your repair process and ensure nothing is overlooked:
- Confirm the type of cable (torsion or extension) and purchase the correct replacement.
- Gather all necessary tools and safety equipment before starting.
- Disconnect the garage door opener and secure the door in the open position.
- Release spring tension safely using winding bars (for torsion systems).
- Remove the old, damaged cable from the drum or pulley system.
- Inspect the cable drum, pulleys, and brackets for wear or damage; replace if necessary.
- Install the new cable, ensuring it is seated correctly in the drum or pulley groove.
- Reapply spring tension carefully and check cable alignment.
- Remove locking pliers/C-clamps and test door operation manually.
- Reconnect the opener and test the door through several open/close cycles.
Following this sequence helps prevent missed steps and ensures that your garage door operates smoothly and safely after repair.
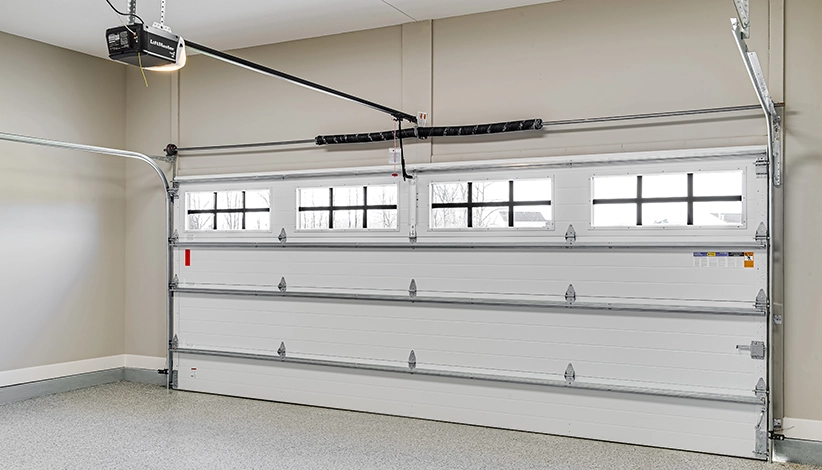
Common Mistakes to Avoid During Cable Repairs
Even with a solid checklist, some errors can compromise the repair or create new hazards. Here are the most frequent pitfalls:
- Skipping Safety Steps: Never attempt repairs without disconnecting power and securing the door.
- Using Improper Tools: Avoid makeshift tools, especially for spring tensioning. This can lead to serious injury.
- Incorrect Cable Sizing: Using the wrong cable type or length can cause operational issues and premature wear.
- Neglecting Component Inspection: Failing to check pulleys and drums can result in repeated failures.
- Overtightening or Undertightening Springs: Improper spring adjustment can make the door unsafe or inoperable.
For those looking to modernize their setup, consider reading about garage door cable system upgrades for improved reliability and safety features.
Maintenance Tips for Long-Lasting Cables
Once your garage door cables are replaced, ongoing maintenance is key to maximizing their lifespan. Here are some practical tips:
- Lubricate Regularly: Apply a light garage door lubricant to cables and moving parts every six months. For guidance, see the garage door cable lubrication frequency article.
- Inspect for Fraying: Check cables monthly for signs of wear, rust, or broken strands.
- Keep Tracks Clean: Remove debris and dirt from tracks to prevent cable misalignment.
- Monitor Door Balance: Test the door’s balance by disconnecting the opener and lifting the door manually. It should stay open about halfway. If not, springs or cables may need adjustment.
- Address Corrosion: If you live in a humid or coastal area, review the garage door cable corrosion prevention guide for tips on protecting cables from rust.
When to Call a Professional
While many homeowners can handle basic cable replacements, some situations require professional expertise:
- The cable has snapped and the door is stuck in a dangerous position.
- You’re unsure about spring tensioning or cable routing.
- There is visible damage to other components, such as springs or drums.
- The door is extremely heavy or uses a non-standard system.
In these cases, hiring a trained technician is the safest and most efficient option. Attempting complex repairs without proper knowledge can result in injury or further damage to your garage door system.
Frequently Asked Questions
How do I know if my garage door cable needs replacement?
Signs include visible fraying, rust, broken strands, or the door moving unevenly. If the door feels unusually heavy or won’t open smoothly, inspect the cables immediately.
Can I replace garage door cables myself?
Many homeowners can replace cables with the right tools and safety precautions. However, if you’re uncomfortable working with high-tension springs or if the door is particularly heavy, it’s best to consult a professional.
How often should garage door cables be inspected?
It’s recommended to inspect cables at least twice a year, or more frequently if your door sees heavy use or is exposed to harsh weather conditions.
What is the most important safety step in cable repair?
Disconnecting the garage door opener and securing the door in place are the most critical steps before beginning any repair. This prevents accidental movement and reduces the risk of injury.
Conclusion
Following a thorough garage door cable repair checklist helps ensure a safe and effective repair process. By preparing the right tools, adhering to safety steps, and performing regular maintenance, you can keep your garage door operating smoothly for years to come. For more advanced technical advice and troubleshooting, explore the garage door cable professional guide and related resources linked throughout this article.